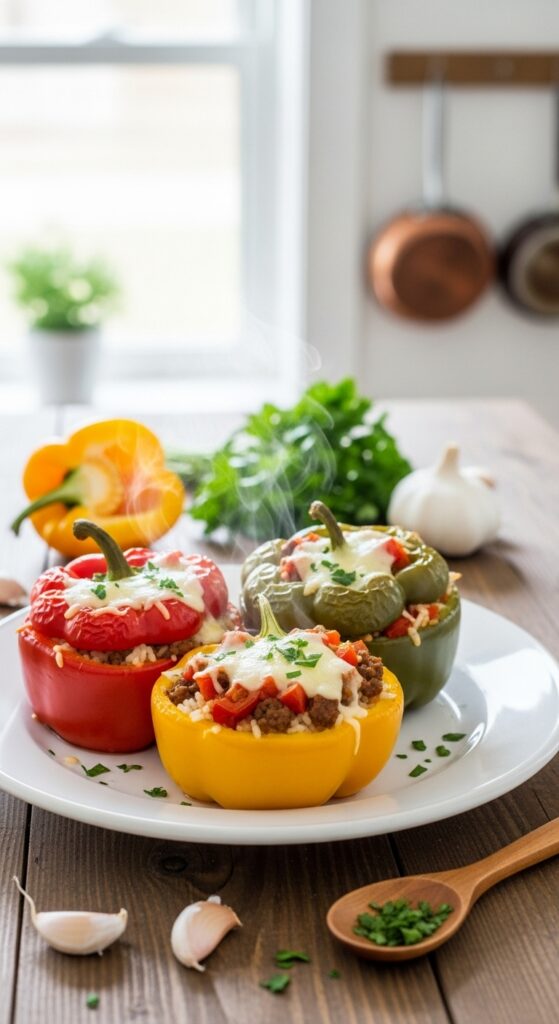
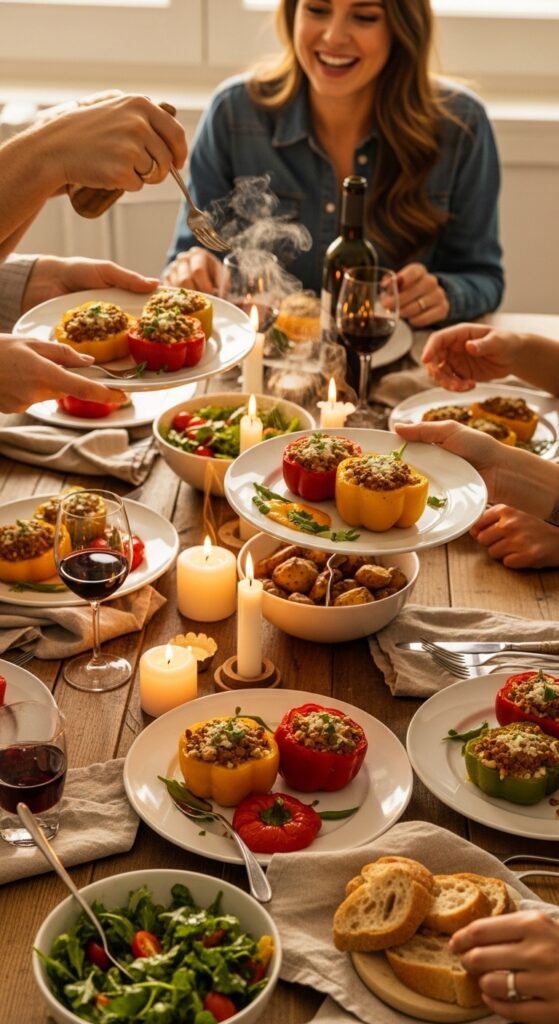
Ever looked at a bell pepper and thought, “You’d make a pretty good bowl”? That’s exactly how this recipe begins—simple curiosity turned into a flavor-packed, colorful meal that practically begs for a photo. Bell Pepper Bowls are one of those dishes that feel both rustic and restaurant-worthy. They’re vibrant, customizable, and easy to pull together on a busy weeknight. Whether you fill them with rice, meat, or veggies, they always deliver a punch of freshness and comfort in every bite.
Let’s dive into why these beautiful edible bowls deserve a spot in your regular rotation—and how to nail them every single time.
Why Bell Pepper Bowls Are Special
The humble bell pepper doesn’t usually steal the spotlight, right? It’s the sidekick in stir-fries, the background color in fajitas. But here, it takes center stage—literally. Instead of being chopped up and lost in the mix, the bell pepper becomes the vessel, the stage, and part of the flavor story.
Each color brings its own personality. Red peppers are sweet and mellow, yellow ones bright and fruity, green ones slightly bitter with a sharp bite. Stuff them up, bake them until just tender, and you’ve got a meal that’s healthy, filling, and downright cheerful.
Beyond the looks, bell peppers are loaded with vitamin C, antioxidants, and natural sweetness. When roasted, that sweetness intensifies. The edges caramelize slightly, and that smoky aroma fills your kitchen. There’s something about cutting into a stuffed pepper—knife slicing through the soft shell, steam escaping—that just feels good.
You can go in so many directions here. Mediterranean with quinoa and feta. Tex-Mex with black beans and corn. Classic American with ground beef and tomato sauce. It’s the kind of recipe that adapts to your mood, your pantry, or even your leftovers.
Ingredients & Substitutions
Here’s what you’ll need for a classic Bell Pepper Bowl base. Then we’ll talk tweaks and swaps to make it your own.
For the Peppers and Filling:
- 4 large bell peppers (any color mix—red, yellow, green, or orange)
- 1 tablespoon olive oil
- 1 medium onion, finely chopped
- 2 cloves garlic, minced
- 1 pound ground beef (or turkey, chicken, or plant-based mince)
- 1 cup cooked rice (white, brown, or cauliflower rice for low-carb)
- 1 can (14 oz) diced tomatoes, drained
- 1 teaspoon smoked paprika
- 1 teaspoon cumin
- ½ teaspoon chili powder
- Salt and black pepper, to taste
- 1 cup shredded cheese (cheddar, mozzarella, Monterey Jack, or vegan cheese)
- Fresh parsley or cilantro, chopped for garnish
Optional add-ins:
- Black beans for extra protein
- Corn kernels for sweetness
- Diced zucchini or spinach for hidden veggies
- A splash of hot sauce if you like it bold
Substitutions and Variations
- Vegetarian/Vegan: Skip the meat and use a mix of black beans, lentils, or quinoa. Add a bit of soy sauce or miso paste for that umami kick.
- Low-carb: Use cauliflower rice instead of regular rice. Keeps it light and fresh.
- Cheese-free: Nutritional yeast gives a lovely savory depth without dairy.
- Spicy: Add jalapeños, red pepper flakes, or chipotle powder.
- Mediterranean twist: Replace the spices with oregano, basil, and a squeeze of lemon. Add olives, feta, and a drizzle of olive oil at the end.
Expert Ingredient Tips
- Bell Peppers: Choose ones that stand upright and have thick, glossy skin. They should feel firm and heavy for their size.
- Rice: Day-old rice works beautifully—it holds up better than freshly cooked, which can get mushy.
- Cheese: Mix two kinds for flavor depth—cheddar for sharpness, mozzarella for melt.
- Tomatoes: Drain well! Too much liquid will make your filling soggy.
Step-by-Step Instructions
1. Prep the Peppers
Slice the tops off your bell peppers (keep them—they make cute little lids). Scoop out seeds and membranes. Brush the insides lightly with olive oil and sprinkle a touch of salt.
Pro tip: Blanch the peppers for 3–4 minutes in boiling water before stuffing if you like them softer. Skip this if you prefer a bit of crunch.
2. Cook the Filling
Heat olive oil in a skillet over medium heat. Sauté onions until translucent, about 3–4 minutes. Add garlic and cook for another 30 seconds—don’t let it burn!
Add the ground beef. Cook until browned, breaking it apart with a spoon. Drain excess fat if needed. Stir in the spices: smoked paprika, cumin, and chili powder. The aroma right here? That’s the heart of the dish.
Mix in diced tomatoes and cooked rice. Stir well until it’s all combined and slightly saucy. Taste and season with salt and pepper.
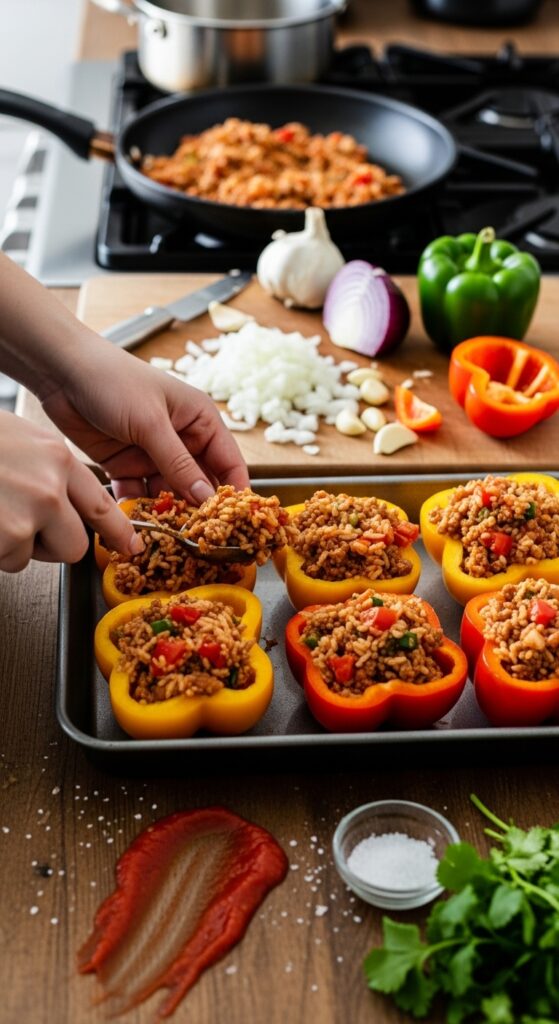
3. Stuff and Bake
Preheat oven to 375°F (190°C).
Place the hollowed peppers upright in a baking dish. Spoon the filling into each one, packing it gently.
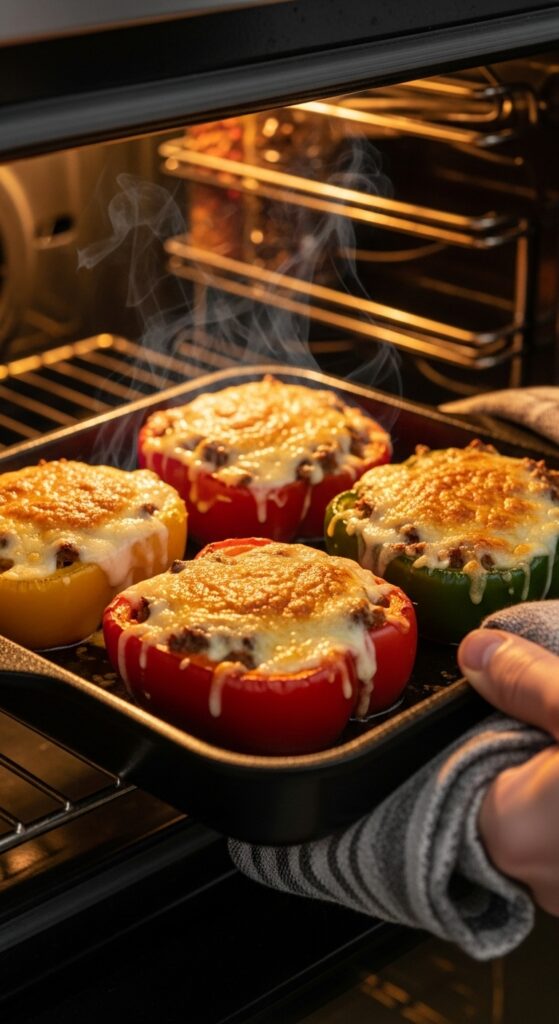
Top with shredded cheese. Cover loosely with foil and bake for 25 minutes. Remove the foil and bake another 10–15 minutes until the cheese is bubbly and golden.
4. Garnish and Serve
Sprinkle chopped parsley or cilantro over the top. Let them rest for a few minutes before serving—they’ll hold their shape better.
👉 Recipe Card
Bell Pepper Bowl
Prep Time: 20 mins
Cook Time: 40 mins
Total Time: 1 hour
Servings: 4
Calories: ~350 per serving
Ingredients
- 4 large bell peppers
- 1 lb ground beef
- 1 tbsp olive oil
- 1 onion, chopped
- 2 garlic cloves, minced
- 1 cup cooked rice
- 1 can diced tomatoes (14 oz), drained
- 1 tsp smoked paprika
- 1 tsp cumin
- ½ tsp chili powder
- Salt & pepper to taste
- 1 cup shredded cheese
- Fresh herbs for garnish
Instructions
- Preheat oven to 375°F (190°C).
- Slice tops off bell peppers, remove seeds. Lightly oil and season.
- Sauté onion and garlic in olive oil until fragrant.
- Add beef; cook until browned. Drain excess fat.
- Stir in rice, tomatoes, and spices. Season well.
- Fill peppers with the mixture and top with cheese.
- Bake covered for 25 min, then uncovered for 10–15 until golden.
- Garnish and serve warm.
Cooking Techniques & Science
Why Roast Instead of Boil?
Baking the bell peppers lets their natural sugars caramelize. That’s what gives that subtle sweetness and roasted aroma. Boiling softens but washes out flavor; roasting concentrates it.
The Rice Trick
Adding rice (or quinoa) does more than bulk up the filling. It absorbs the flavorful juices from the meat and tomatoes as they bake, turning every bite into a perfect balance of textures.
Cheese Meltdown Magic
When cheese melts slowly in the oven, it forms that irresistible stretchy top layer. High-moisture cheeses like mozzarella bubble beautifully, while sharper ones like cheddar create those lovely golden spots. A mix of both is your best bet.
Don’t Overbake
A common rookie mistake—baking until the peppers collapse. You want them tender but still holding shape. Around 35–40 minutes total is the sweet spot.
Tools That Help
- Cast iron skillet: Ideal for browning meat evenly.
- Deep baking dish: Keeps peppers upright and retains moisture.
- Tongs: Handy for handling hot peppers post-bake.
- Instant-read thermometer: If you’re using poultry or plant-based meat, make sure the internal temp hits 165°F for safety.
Serving & Pairing Suggestions
Bell Pepper Bowls are versatile enough to pair with just about anything.
For a full meal: Serve with a crisp green salad dressed in lemon vinaigrette or a side of garlic bread.
For texture contrast: Add roasted potatoes or a simple grain salad.
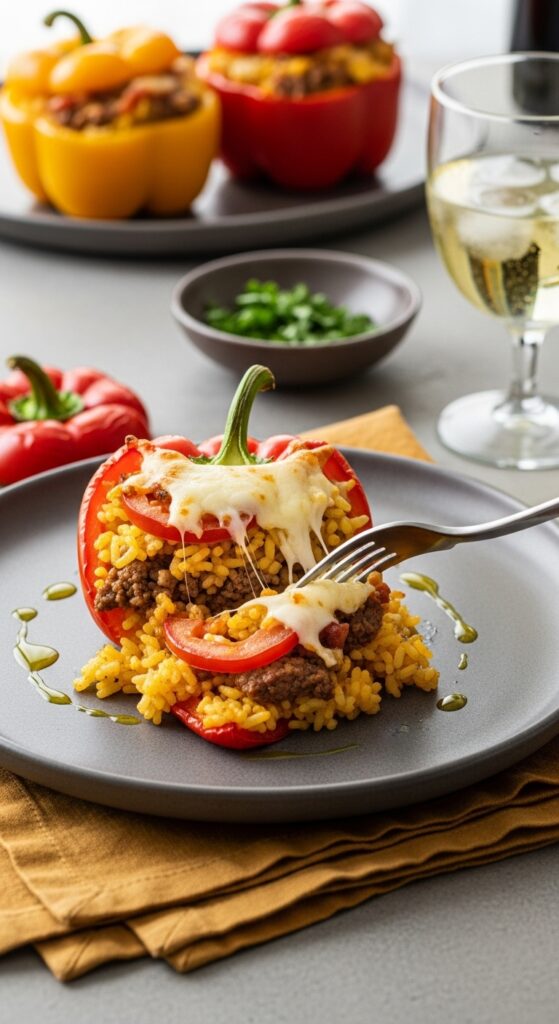
Drinks: A chilled glass of Sauvignon Blanc or a citrusy mocktail complements the peppers’ sweetness beautifully. If you’re going spicier, a cold beer (lager or IPA) balances the heat.
Presentation tip: Slice one pepper in half before serving—it shows off the colorful filling and looks stunning on the plate. Drizzle a bit of olive oil or balsamic glaze for a restaurant-style finish.
Meal prep win: These store and reheat beautifully. Make a batch on Sunday, and you’ve got lunches ready for the week. Just reheat in the oven or microwave with a splash of water to keep them moist.
Conclusion
Bell Pepper Bowls are proof that simple ingredients can create something that feels special. They’re colorful, nutrient-packed, and endlessly adaptable. Once you make them, you’ll start experimenting—different grains, sauces, herbs, even international twists.
The key is balance: savory filling, soft but sturdy pepper, and a touch of creamy cheese or sauce. It’s the kind of recipe that looks like you spent hours but actually comes together quickly.
So next time you grab a bunch of bell peppers, skip the stir-fry. Let them shine. Let them be the bowl.
FAQs
1. Can I make Bell Pepper Bowls ahead of time?
Absolutely. Prepare the filling and stuff the peppers, then refrigerate (covered) for up to 24 hours. Bake just before serving.
2. Can I freeze stuffed peppers?
Yes! Let them cool completely, wrap individually, and freeze. Reheat from frozen at 375°F for about 35–40 minutes.
3. My peppers turned mushy—what happened?
They were probably overbaked or too ripe. Choose firm peppers and reduce bake time slightly next time.
4. How do I make this vegan-friendly?
Use lentils, beans, or tofu for the filling, skip the cheese, or use a vegan version. Add nutritional yeast or miso paste for depth.
5. What’s the best color pepper to use?
Red for sweetness, yellow for fruitiness, green for a sharper, more vegetal flavor. Mix them up for the prettiest plate.]
inal Tip: Once you master the base, get playful. Try taco-style fillings, Greek-inspired quinoa mixes, or even breakfast versions with scrambled eggs. Bell Pepper Bowls are the kind of recipe that grow with you—the more you cook them, the more fun they get.
Would you like me to add image prompt ideas (for blog visuals and Pinterest SEO descriptions) like in the Blackened Shrimp Recipe format?

Selena is an experienced lifestyle blogger and the voice behind many of Cozy Toned’s inspiring posts. With a passion for mindful living, home styling, and everyday wellness, she shares practical tips and fresh ideas to help readers live beautifully and intentionally.