I once had a friend tell me they were bored of ground beef. Can you even imagine that? Said it was too basic, too predictable. I just smiled, because they hadn’t seen its potential yet. They didn’t know how a humble pound of beef could become a canvas for pure, molten, cheesy glory. It’s all about what you do with it, the little tricks that transform the ordinary.
This ain’t just throwing cheese on some meat. We’re talking about a masterclass in comfort, a deep dive into the alchemy of browning, seasoning, and melting. The magic happens when you understand the why behind each step. Why a certain cheese melts better. Why the order of operations matters so much for flavor. That’s what makes a recipe special, turning a simple concept into something you’ll crave weekly.
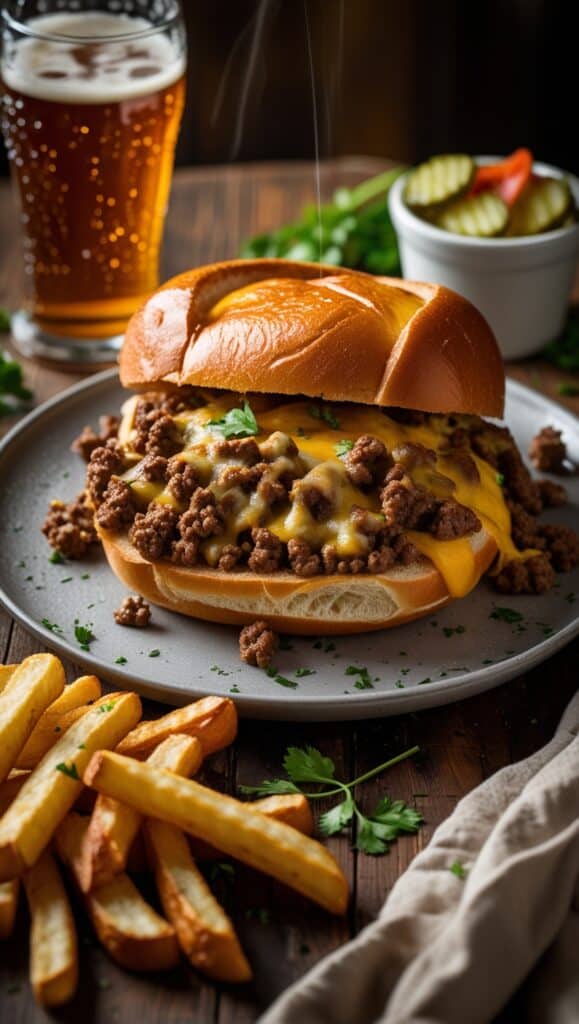
Ingredients & Substitutions
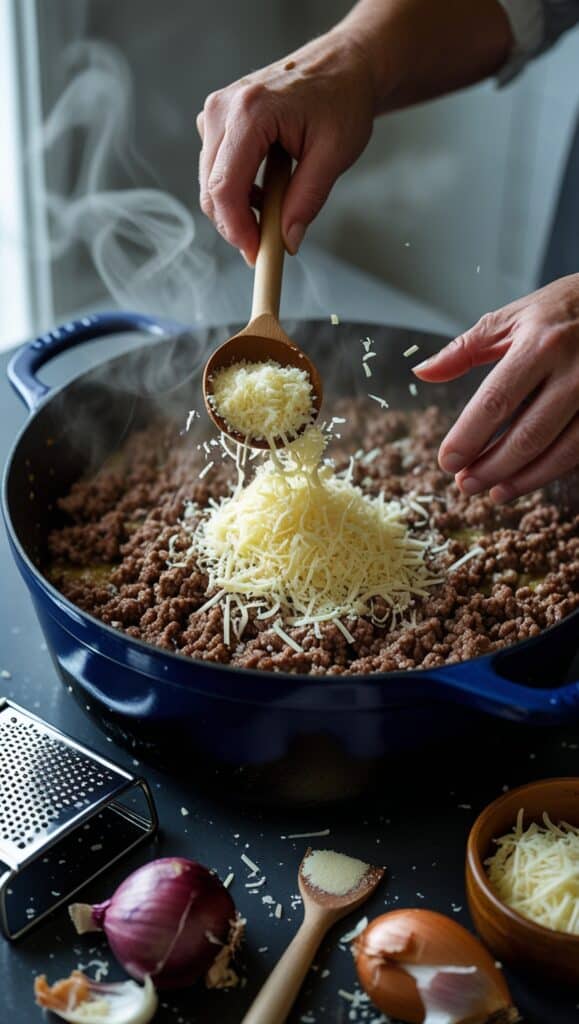
Let’s talk about the beef first. You want an 80/20 blend here, that’s 80% lean and 20% fat. The fat is pure flavor gold, it’ll render out and fry your onions and garlic in it. Don’t go for the super lean stuff, it just dries out. Trust me on this, the fat is your best friend for a juicy, tasty result.
A yellow onion, finely diced, is non-negotiable for the base flavor. And fresh garlic, minced yourself. None of that jarred stuff, it just doesn’t have the same punch. You’ll taste the difference, I promise. This is the foundation, the aromatic base that makes everything else sing.
For the cheesy part, we’re using a combo. Sharp cheddar for that classic, tangy bite. And some Monterey Jack for its incredible meltability. The cheddar gives flavor but can get a bit oily, the Jack keeps everything smooth. Pre-shredded bags have anti-caking agents that can mess with the texture. Grating your own is a game-changer, it melts so much creamier.
A can of diced tomatoes and some tomato paste for that hint of acidity and sweetness. It balances the rich beef and fat. Beef stock is crucial too, it adds a deep, savory backbone that water just can’t provide. Use a good quality stock, it makes a huge difference in the final sauce.
Spices are simple but key. Chili powder, paprika, dried oregano, salt, and black pepper. Maybe a pinch of red pepper flakes if you like a bit of heat. Using dried herbs here is perfect, they hold up to the cooking time better than fresh would. Their flavor infuses the whole dish.
Step-by-Step Instructions
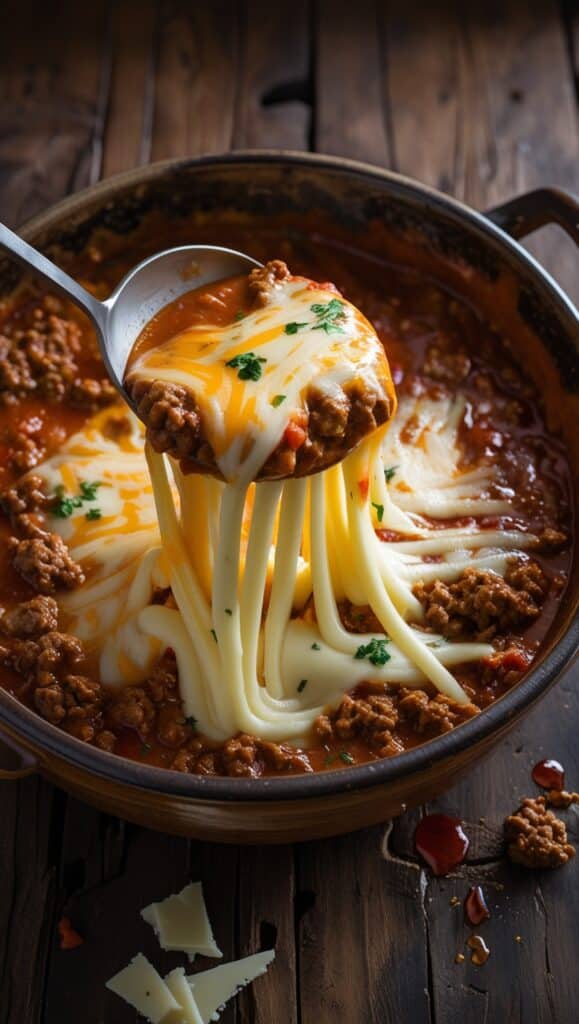
Start by browning that beef. Get your pan nice and hot first, a medium-high heat. Then crumble the beef in. Don’t just dump it in a clump. You want maximum surface area for browning. And don’t stir it constantly! Let it sit and get a proper sear on one side before you break it up. That browning equals big flavor.
Once the beef is no longer pink, add in the diced onion. Cook it all together until the onions turn soft and translucent, about five minutes or so. Then add the garlic and tomato paste. Cook for another minute until it’s fragrant. You’re waking up the tomato paste, cooking out that raw tinny taste.
Now, sprinkle all your spices right over the meat. Stir them in and let them toast for just 30 seconds. You’ll smell them blooming. This quick toast wakes them up, makes their flavor so much more complex. Immediately pour in the diced tomatoes and the beef stock.
Bring everything to a simmer, then reduce the heat to low. Let it bubble gently for about ten to fifteen minutes. You want some of the liquid to reduce. This is where the flavors get to know each other, really marry together. It shouldn’t be soupy, but a thick, cohesive mixture.
Turn the heat off entirely. Now, stir in your freshly grated cheese in handfuls. Stir constantly until it’s all melted and gloriously creamy. The residual heat is enough to melt it without making the cheese tough or greasy. Season one last time with salt and pepper to taste. Always taste at the end!
Cooking Techniques & Science
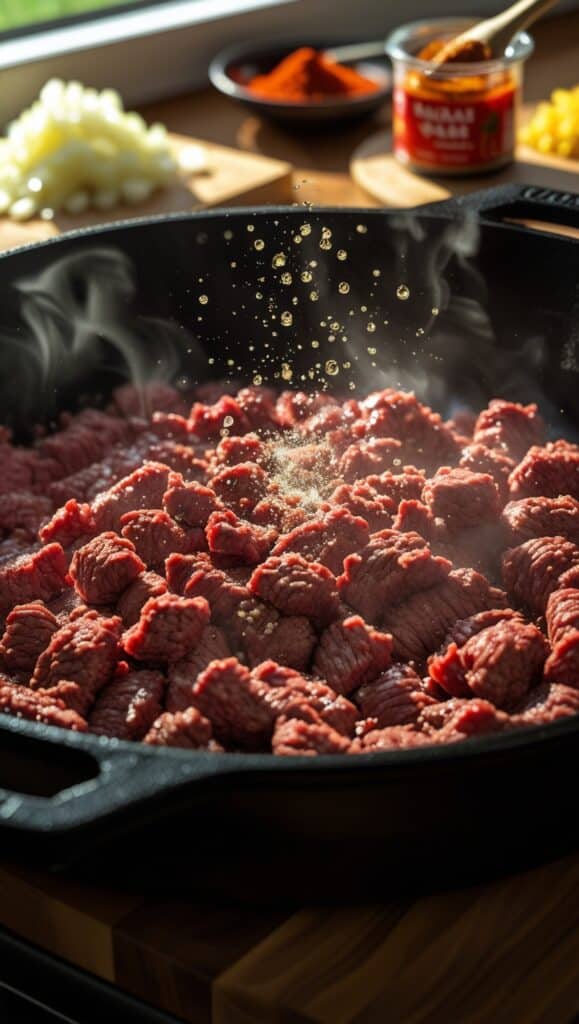
That initial sear on the beef is called the Maillard reaction. It’s a chemical thing between amino acids and sugars that creates hundreds of new flavor compounds. It’s what makes browned food taste so much better than boiled or steamed food. So patience in this step is the number one secret.
Adding the spices to the fat is another big deal. Many of the flavor compounds in spices are fat-soluble. Cooking them briefly in the rendered beef fat allows those flavors to dissolve and spread evenly throughout the entire dish. It distributes the flavor way more effectively than just adding them to the liquid.
The type of cheese matters scientifically too. Cheeses like cheddar have less moisture and more acid. When heated, the protein structure tightens and can squeeze out fat, making it seem oily. Combining it with a high-moisture, low-acid cheese like Monterey Jack creates a stable, smooth emulsion. Science for the win, right?
A heavy-bottomed skillet or Dutch oven is the best tool here. It distributes heat evenly, preventing hot spots that can cause the beef to burn instead of brown. Thin pans will give you uneven results. Good tools don’t have to be expensive, just well-made and heavy.
Serving & Pairing Suggestions
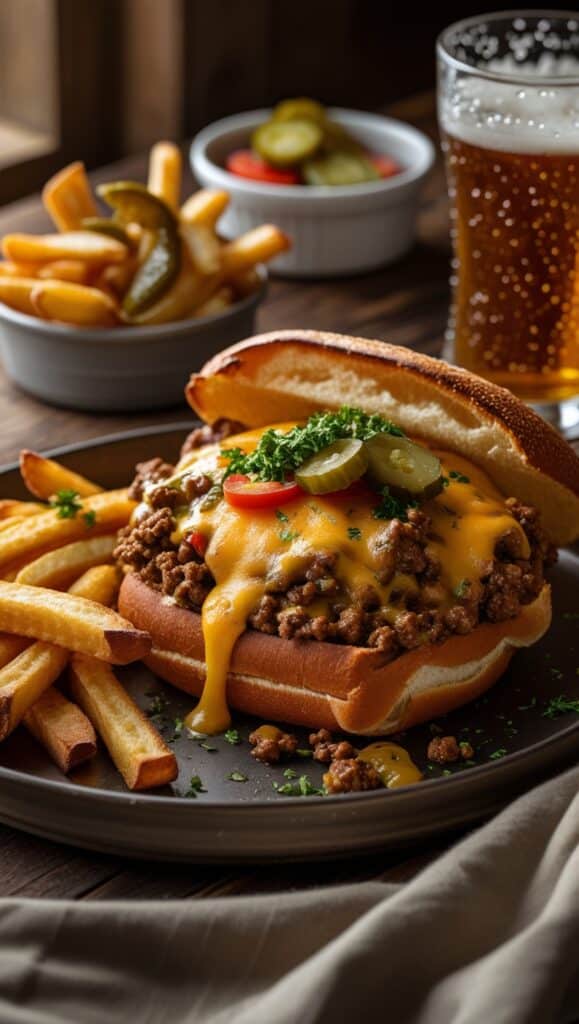
This cheesy beef is incredibly versatile. Obviously, pile it onto toasted buns for the ultimate Sloppy Joe experience. It’s messy and perfect. Or spoon it over a baked potato for a super filling and comforting meal. The potato soaks up all that cheesy goodness.
For a low-carb option, serve it over a bowl of crisp shredded iceberg lettuce. The cold crunch with the warm, rich beef is an amazing texture contrast. You could even use it as a dip with sturdy tortilla chips for game day. It’s always a crowd-pleaser.
Pair it with something fresh to cut through the richness. A simple side salad with a sharp vinaigrette works wonders. Or some quick-pickled red onions, the acidity is a perfect balance. For a drink, a cold lager beer or a bold Zinfandel would stand up to the hearty flavors.
Conclusion
So there you have it. Far from boring, right? This is a blueprint for comfort food greatness. The key is in the browning, the spicing, and the cheese blend. Master those, and you’ve got a meal everyone will love. It’s weeknight magic that feels anything but ordinary.
Don’t be afraid to make it your own. Add some diced green chilies. Swap the cheddar for pepper jack. Throw in a can of drained black beans or some corn kernels. This recipe is a fantastic starting point for your own creations. Now go forth and get cheesy.
What’s the best cheese for melting?
For the creamiest melt, use cheeses like Monterey Jack, mozzarella, or young cheddar. Avoid pre-shredded bags as they contain starches that can make the sauce grainy. Always grate your own for the silkiest result.
Can I make this ahead of time?
Absolutely. Prepare the meat mixture completely but hold off on adding the cheese. Store it in the fridge for up to two days. Reheat gently on the stove and then stir in the cheese just before serving. It freezes well too, without the cheese.
My sauce turned out watery, how can I fix it?
If it’s too loose, just simmer it for a few more minutes with the lid off to evaporate excess liquid. You can also mix a teaspoon of cornstarch with a tablespoon of cold water and stir it in, letting it cook for a minute to thicken up.
Can I use ground turkey instead?
You sure can. Ground turkey is much leaner, so you’ll need to add a tablespoon of olive oil to the pan to compensate for the lack of fat. The flavor will be milder, so you might want to be a bit more generous with your seasonings.

Selena is an experienced lifestyle blogger and the voice behind many of Cozy Toned’s inspiring posts. With a passion for mindful living, home styling, and everyday wellness, she shares practical tips and fresh ideas to help readers live beautifully and intentionally.