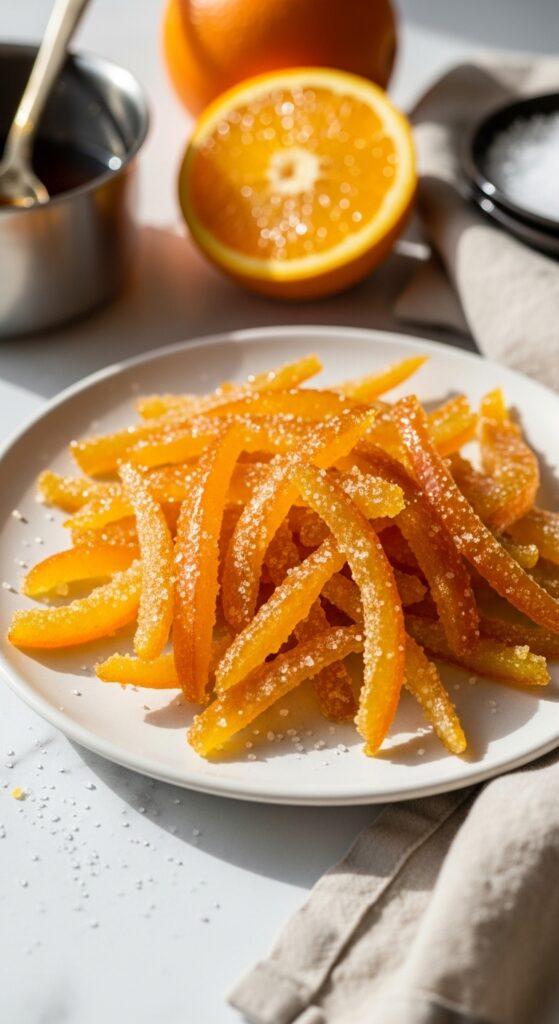
There’s something wonderfully nostalgic about the smell of oranges simmering in sugar. It’s the scent of sunshine meeting sweetness, of citrus zest and sticky fingertips, of candy that feels both old-fashioned and timeless. Making orange candy at home might sound like something out of a grandmother’s kitchen, but trust me—it’s pure magic. Once you make your first batch, the glossy strips of candied orange peel or those chewy orange drops will make you wonder why you ever bought the store version.
Homemade orange candy isn’t just about taste—it’s a little bit of alchemy. You take something humble, like citrus peels or juice, and turn it into something dazzling. It’s part art, part patience, and part science. The sugar bubbles, the syrup thickens, and suddenly you’ve created a jewel-toned treat that can brighten up a gloomy day.
So let’s talk candy—the kind that bursts with citrus and sparkle.
Why It’s Special
This recipe is classic, the kind that’s been passed around kitchens for generations. You might find versions of it tucked into old handwritten cookbooks, often labeled “candied orange peel” or “orange drops.” It’s one of those confections that feels both luxurious and homey.
What makes it special? For one, it captures orange flavor at its peak. That bright, zesty aroma that hits when you first peel an orange—it’s all locked inside each candy. There’s also something deeply satisfying about the process. You’re not just boiling sugar and juice. You’re creating texture, flavor, and shine through technique and patience.
And here’s the fun part—it’s versatile. You can coat the candied peels in chocolate for an elegant after-dinner bite. Chop them up and fold into scones or fruitcakes. Or just pop one in your mouth with a cup of tea and savor that bittersweet citrus rush.
This candy also has roots in preservation. Before refrigeration, candying fruit was a clever way to make seasonal produce last longer. Today, it’s a celebration of craft, a slow and mindful process in a fast-moving world.
Ingredients & Substitutions

You don’t need fancy equipment or exotic ingredients—just fresh oranges, sugar, and patience. But choosing good ingredients matters.
Ingredients:
- 4 large oranges (preferably organic, since you’ll use the peel)
- 2 cups granulated sugar
- 1 ½ cups water
- Optional: ¼ teaspoon salt
- Optional: ½ teaspoon vanilla extract or orange blossom water
- Optional: Extra sugar for coating or dipping chocolate
Substitutions & Tips:
If oranges aren’t in season, you can use other citrus fruits. Blood oranges will give a deep ruby hue and a slightly berry-like flavor. Grapefruits make a bolder, more bitter version. Even lemons or limes work if you like sharper candy.
For a deeper caramel tone, swap in raw cane sugar or a bit of honey. Want it vegan-friendly? It already is. Want less bitterness? Blanch the peels twice before candying to mellow that edge.
And please—use fresh oranges, not bottled juice or dried zest. Fresh zest carries essential oils that bottled versions just can’t match.
When it comes to vanilla or orange blossom water, a few drops go a long way. It’s about aroma more than flavor. Think perfume, not punch.
Step-by-Step Instructions
Candy-making can feel intimidating at first, but once you understand the rhythm—boil, simmer, cool—it becomes second nature. Here’s how to do it without stress.
1. Prep the oranges.
Wash them thoroughly. Slice off the tops and bottoms, then score the peel into quarters. Gently pull off the peel, keeping as much of the white pith as you can handle. Slice into thin strips, about ¼ inch wide.
2. Blanch the peels.
This step softens them and removes bitterness. Place the strips in a pot, cover with water, and bring to a boil. Simmer for 10 minutes, drain, and repeat once more with fresh water. This double-blanching is key—don’t skip it.
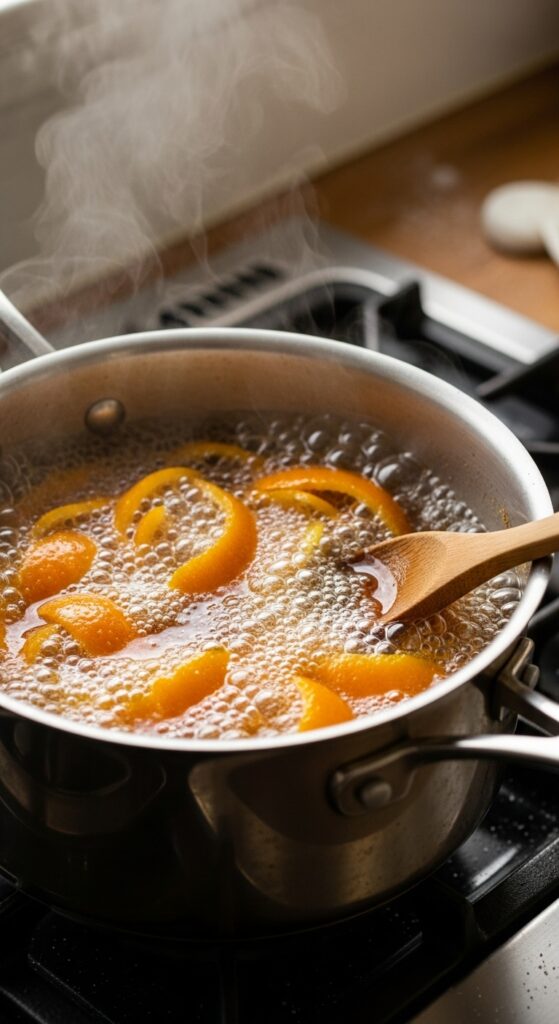
3. Make the syrup.
In another saucepan, combine sugar and water. Bring it to a simmer, stirring until the sugar dissolves. Add the blanched peels and reduce the heat. Let them simmer gently for about 45 minutes to an hour, until the peels turn translucent and glossy.
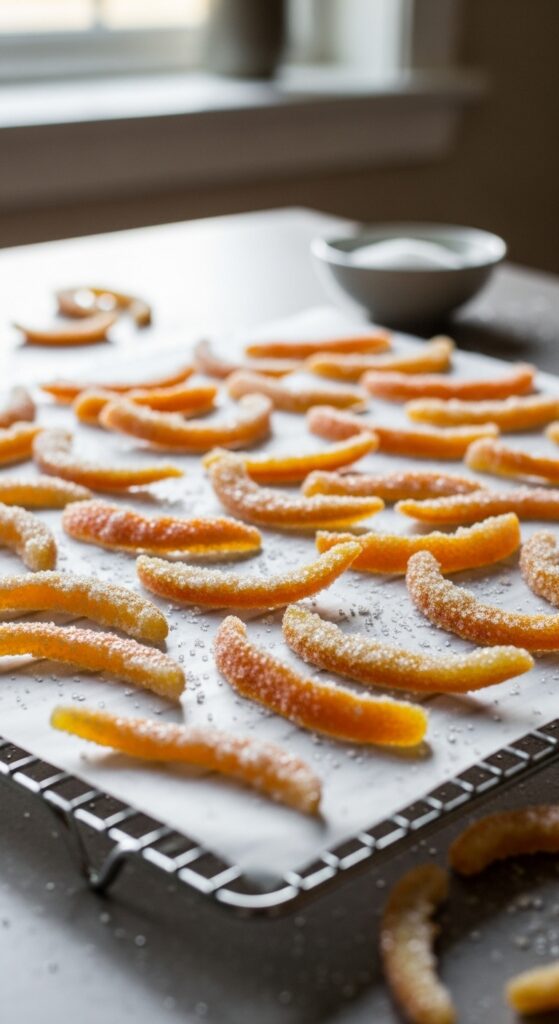
4. Dry the candy.
Use a slotted spoon to transfer the peels to a wire rack. Let them dry for several hours, or overnight if possible. If you’re short on time, you can set them in a warm oven (around 150°F or 65°C) for an hour or two to help them dry faster.
5. Coat and finish.
Once dry, roll the peels in granulated sugar. The coating adds sparkle and prevents stickiness. You can leave them plain or dip half of each strip in melted dark chocolate for an irresistible treat.
6. Store and savor.
Keep your candies in an airtight container at room temperature. They’ll last up to two weeks—if they’re not devoured sooner.
Variations:
For chewy orange drops, you can skip the peel and instead use fresh orange juice reduced down with sugar and a touch of gelatin or agar agar. Pour into molds and let set. You’ll get soft, zesty candies with a bright burst of flavor.
Want a spicy twist? Add a pinch of cayenne or ground ginger to the syrup. For a floral touch, swap vanilla for rosewater. And for a holiday feel, toss in a stick of cinnamon or a clove while simmering.
Cooking Techniques & Science
Candy-making is all about temperature and timing. Sugar behaves differently at every stage, from thread to soft-ball to hard-crack. For candied orange peel, you’re hovering around the thread stage—around 230°F (110°C). The syrup stays thick and glossy, not caramelized.
Why blanch the peel first? It removes excess bitterness from the pith while keeping the structure intact. Without blanching, your candy would taste harsh, like marmalade gone wrong. With it, you get balance—sweet, bright, just a hint of citrus bite.
The long simmer in syrup lets the sugar replace the water inside the peel cells. That’s why it becomes translucent—it’s literally saturated with syrup. When you dry it, the sugar inside crystallizes slightly, giving that satisfying chew.
Use a heavy-bottomed pan. Thin pots cause hot spots that can scorch sugar. A candy thermometer helps, but you can go by sight—look for thick, slow bubbles and glossy peel.
If you’re dipping in chocolate, temper it properly. Un-tempered chocolate can bloom (develop white streaks). For a clean finish, melt half your chocolate, add the rest off heat, stir until smooth, then dip.
Tools that help
- Candy thermometer (optional but useful)
- Slotted spoon
- Cooling rack
- Parchment paper
- Small saucepan with thick base
Treat candy-making like chemistry with flavor. You’re controlling heat, moisture, and texture all at once.
👉 Recipe Card
Classic Homemade Orange Candy
Prep Time: 20 minutes
Cook Time: 1 hour
Drying Time: 6–12 hours
Servings: About 40 pieces
Calories: ~60 per piece
Ingredients:
- 4 large oranges
- 2 cups sugar (plus more for coating)
- 1 ½ cups water
- Optional: ½ tsp vanilla extract or orange blossom water
Instructions:
- Wash and peel oranges; slice peels into strips.
- Boil peels for 10 minutes, drain, and repeat once.
- Combine sugar and water in saucepan; simmer until sugar dissolves.
- Add peels; simmer 45–60 minutes until translucent.
- Remove peels and dry on rack for several hours.
- Roll in sugar or dip in chocolate.
- Store airtight up to 2 weeks.
Nutrition (per piece):
Calories 60 | Fat 0g | Carbs 15g | Sugar 14g | Fiber 1g | Protein 0g
Serving & Pairing Suggestions

These candies are little gems on their own, but they also shine in desserts. Chop and sprinkle them over vanilla ice cream or fold them into biscotti dough. Tuck a few into a box as a homemade gift—they look beautiful nestled in tissue paper.
For drinks, pair them with espresso, black tea, or a citrusy cocktail like an Aperol spritz. The bitterness of the peel plays beautifully against something fizzy and slightly herbal.
If you’ve dipped them in dark chocolate, they’re perfect after dinner with red wine or a smoky Scotch. For brunch, mix chopped pieces into pancake batter or muffin mix for surprise bursts of flavor.
Even savory pairings work. A finely diced bit of candied peel can lift a salad dressing or glaze for roast duck. Don’t be afraid to experiment—it’s still orange, after all. It just happens to be sweet and complex now.
Conclusion
Homemade orange candy is one of those quiet luxuries. It’s simple in theory but deeply satisfying in practice. You’re not just making candy—you’re bottling sunshine, turning humble fruit into something extraordinary.
The trick is patience. Don’t rush the syrup, don’t skip the blanching, and don’t worry if your first batch isn’t perfect. The beauty of candy-making lies in the process. You’ll get better every time, learning to read the bubbles and trust your instincts.
And once you’ve mastered oranges, the whole citrus world opens up—lemons, grapefruits, kumquats. Each one brings a new flavor story.
So the next time life gives you oranges, skip the juice. Make candy.
FAQs
Can I use orange juice instead of peel?
Yes! You can make chewy orange drops by cooking fresh juice with sugar until thick, then setting it in molds. It’s a different texture but equally delicious.
How do I prevent the sugar from crystallizing?
Avoid stirring the syrup once it starts simmering. If sugar crystals form on the pot sides, brush them down with a wet pastry brush.
Can I make this with other fruits?
Absolutely. Lemon, grapefruit, or even watermelon rind can be candied with the same method.
Do I need a candy thermometer?
Not strictly, but it helps. You can go by sight—translucent peels and thick syrup mean you’re there.
How long does homemade orange candy last?
Stored in an airtight container at room temperature, it lasts about two weeks. In the fridge, up to a month.
Homemade orange candy is the kind of recipe that connects generations—a little bit old-school, a little bit artful, and entirely delicious. Once you taste that sweet citrus sparkle, you’ll never go back to store-bought again.

Selena is an experienced lifestyle blogger and the voice behind many of Cozy Toned’s inspiring posts. With a passion for mindful living, home styling, and everyday wellness, she shares practical tips and fresh ideas to help readers live beautifully and intentionally.