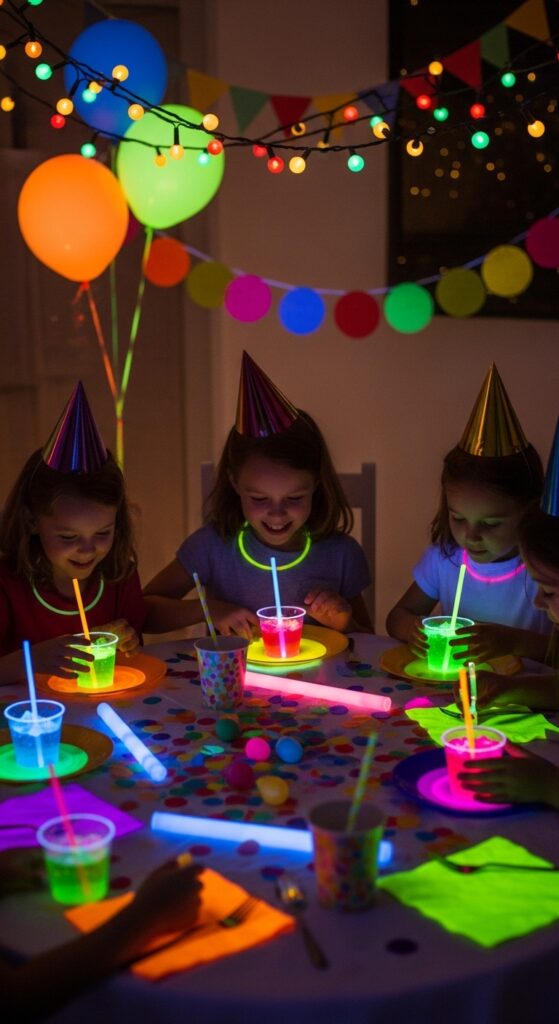
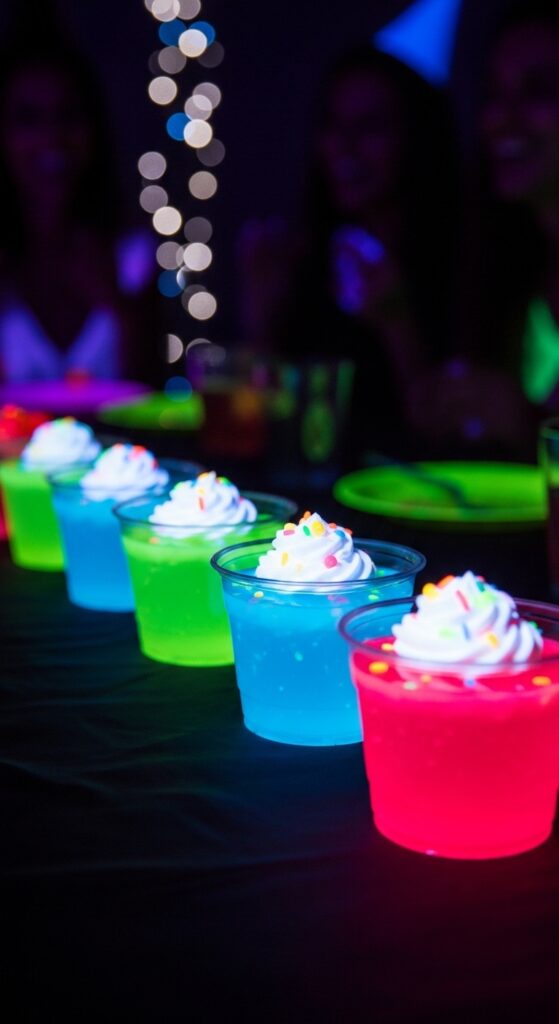
Ever been to a party where the desserts literally glow? Not from candles or fancy plating, but actually glow under blacklight? Glow in the Dark Jello Cups do exactly that. They’re bright, bouncy, and slightly mysterious—the kind of treat that makes everyone gather around the dessert table like they’ve spotted magic.
It’s one of those recipes that looks complicated but isn’t. A little kitchen science, a little creativity, and suddenly your party has an edible light show. Whether you’re throwing a birthday bash, Halloween party, or neon-themed get-together, these jiggly cups turn dessert into entertainment.
Why It’s Special
There’s something deeply satisfying about watching people’s eyes widen when they see glowing food. It’s unexpected and fun. Glow in the Dark Jello Cups play with perception—you know it’s safe and sweet, but the glow tricks your brain into thinking it’s from another world.
The secret ingredient behind the glow? Tonic water. Yep, that fizzy, slightly bitter mixer hiding in your bar. It contains quinine, a compound that fluoresces under UV blacklight. Mix it with your favorite flavored gelatin, and boom—glow city.
What’s beautiful about this recipe is that it’s endlessly customizable. You can make layered neon cups, glowing shots for adults, or fun fruit-filled versions for kids. It bridges that gap between kitchen craft and science experiment, and somehow still tastes delicious.
You don’t need to be a pastry chef or a chemist. Just a sense of curiosity and maybe a blacklight bulb.
Ingredients & Substitutions
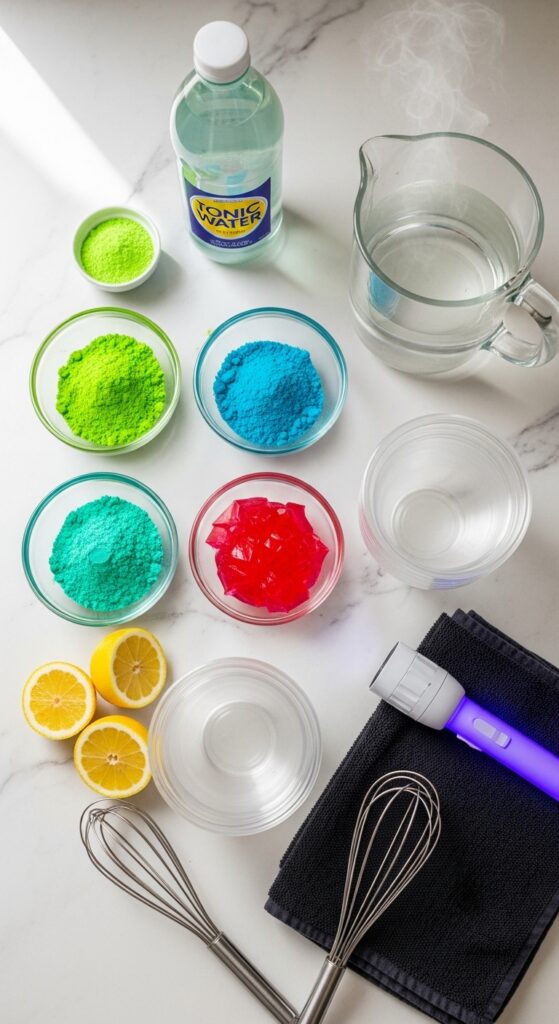
The ingredients list is surprisingly short but powerful. Every component has a purpose, and once you understand them, you can riff endlessly.
Gelatin mix: Use your favorite brand of flavored gelatin (like Jell-O). Bright colors like lime, blue raspberry, and orange glow best under UV light. You can also use unflavored gelatin and add your own juice or soda for custom colors.
Tonic water: This is the key to the glow. Regular tonic water works best—look for one that lists quinine in the ingredients. Diet tonic water works too, though it can be slightly less intense.
Sugar (optional): If you’re using unflavored gelatin or prefer a sweeter dessert, add a bit of sugar to balance the bitterness of tonic water.
Fruit or candy mix-ins: Optional but fun—think glowing gummy worms, neon-colored candy, or slices of translucent fruit like kiwi or pineapple. Avoid heavy fruits that sink or discolor the gelatin.
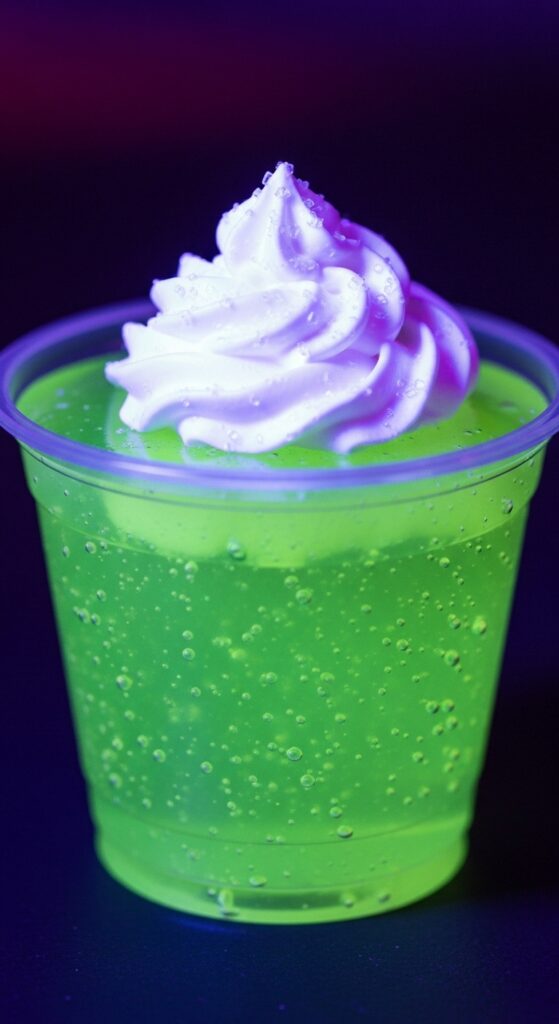
Whipped cream or topping: Adds contrast when serving and gives a creamy balance to the jiggly texture.
Substitutions:
- Want a vegan version? Swap gelatin for agar-agar powder and adjust the ratio (1 teaspoon agar per 1 cup of liquid).
- Want less bitterness? Replace half the tonic water with plain water or lemon-lime soda.
- Want a cocktail version? Replace a portion of the water with vodka or gin—still glows beautifully.
- Don’t have blacklight? These cups are still vibrant and colorful even without the glow.
Pro tip: Always taste the liquid mix before chilling. Adjust sweetness and acidity then—it’s your one chance before it sets!
Step-by-Step Instructions
Making Glow in the Dark Jello Cups isn’t about fancy equipment—it’s about timing and temperature. Follow these steps and you’ll nail it on your first try.
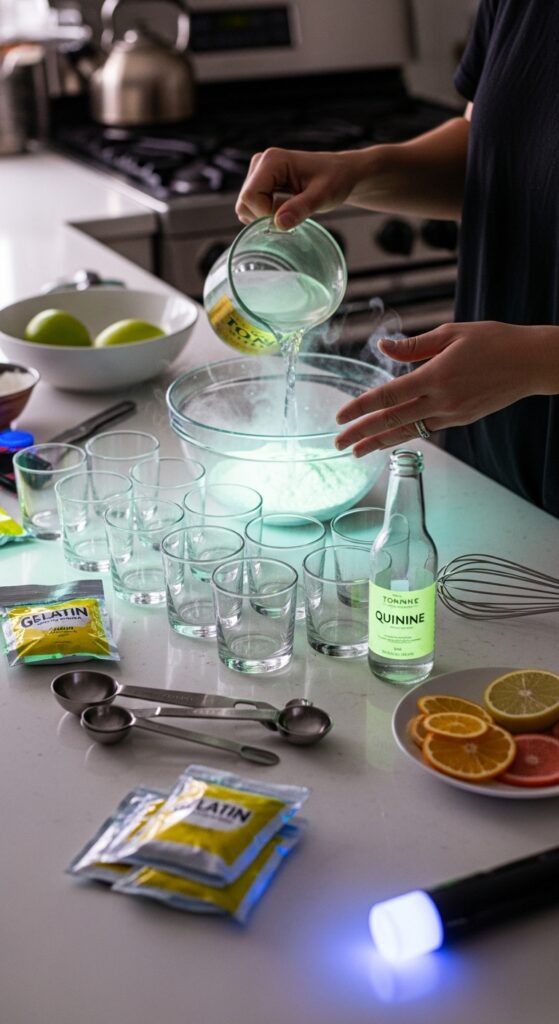
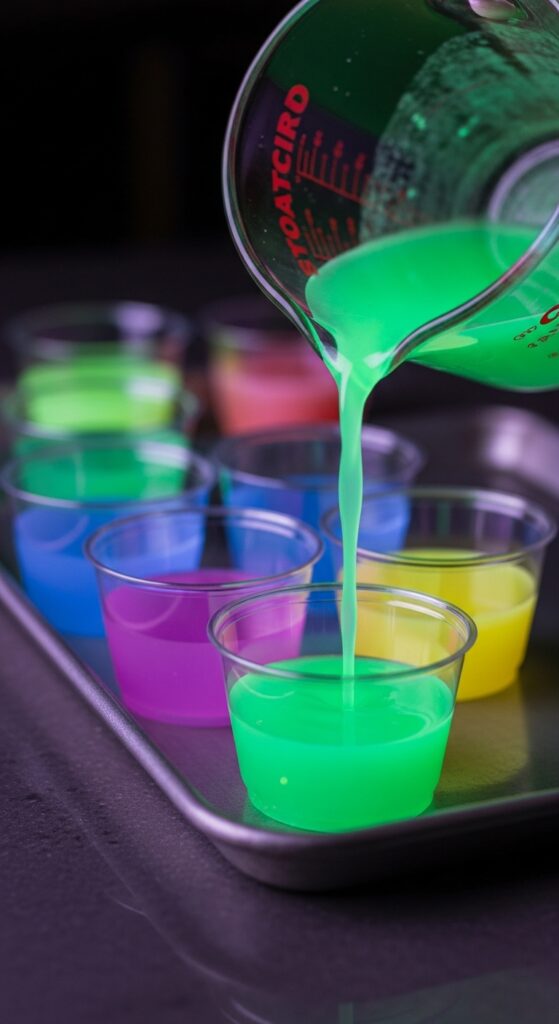
- Prep your cups. Line up small clear plastic cups or glass dessert dishes on a tray for easy transfer. Make sure they’re clean and dry.
- Heat your tonic water. In a saucepan, bring tonic water just to a gentle simmer. Don’t boil too long—it can reduce the quinine’s glow intensity.
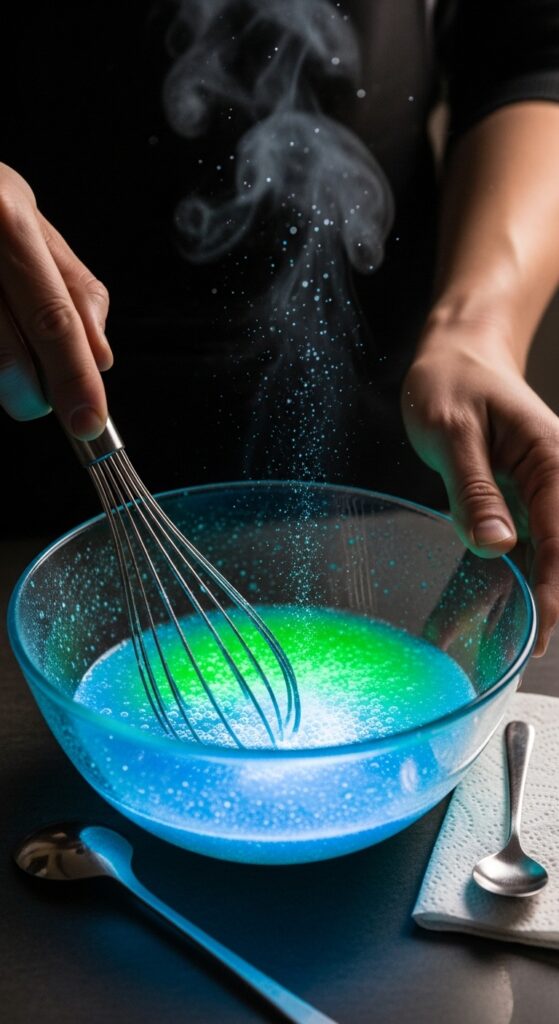
- Dissolve gelatin. Pour the hot tonic water over the flavored gelatin powder in a mixing bowl. Stir slowly until fully dissolved, about 2 minutes. No grains left at the bottom!
- Cool slightly. Let it sit for a few minutes so it’s warm, not hot—this keeps the glow intact and prevents fruit or candy from melting.
- Add mix-ins (optional). Drop a few small candies, fruit slices, or gummies into each cup.
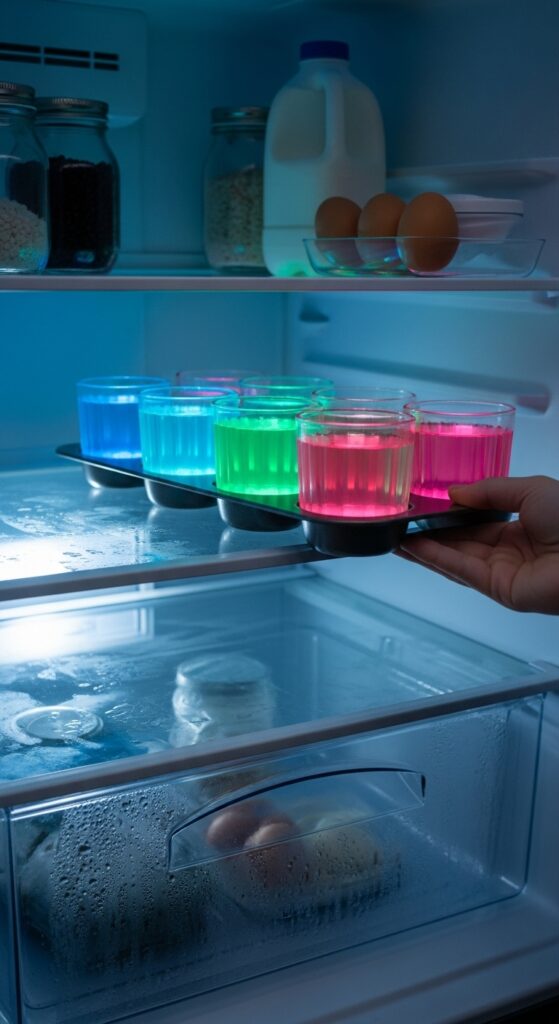
- Pour and chill. Carefully pour the gelatin mixture into your prepared cups. Refrigerate for at least 3–4 hours, or until fully set.
- Test the glow. Once chilled, shine a blacklight over them. You’ll see the tonic-water-based colors light up instantly—bright, eerie, and beautiful.
Expert tips:
- Always use clear or translucent cups for maximum glow effect.
- Chill at least 4 hours for perfect texture—overnight is even better.
- Want layered cups? Let the first layer set halfway, then pour the next color gently over a spoon to avoid mixing.
Variations:
- Spooky Halloween cups: Mix in gummy eyeballs or candy spiders.
- Summer neon theme: Layer bright citrus flavors—lime, orange, lemon.
- Grown-up glow shots: Replace half the tonic water with citrus vodka.
- Kids’ glow cups: Use less tonic and more soda for a sweeter, less bitter bite.
Common mistakes:
- Boiling tonic water too long (kills glow).
- Adding cold fruit to hot gelatin (causes cloudy patches).
- Rushing the set time—patience makes the texture perfect.
Cooking Techniques & Science
This recipe might look like kitchen fun, but there’s fascinating chemistry at play.
Why tonic water glows: The key molecule, quinine, reacts to UV light. When hit with blacklight, it absorbs invisible UV rays and emits visible blue light. That’s fluorescence. The more tonic water in your mix, the brighter the glow.
Why gelatin sets: Gelatin’s protein chains form a network as it cools, trapping water and creating that signature wobble. Too much liquid and it won’t set; too much gelatin and it’ll feel rubbery. The sweet spot is roughly one packet (about 7 grams) per 2 cups of liquid.
Temperature control: Boiling liquids break gelatin bonds before they can form. That’s why we dissolve gelatin in hot water but never boil after adding it. Same goes for tonic water—you want heat for dissolution, not a rolling boil.
Tools that help:
- Blacklight: Essential for testing and showing off the glow. You can get small UV LED bars or even screw-in bulbs for party settings.
- Heatproof mixing bowl: Glass or stainless steel, so your gelatin dissolves evenly.
- Measuring jug with spout: Makes pouring into small cups way easier.
Pro insight: If you’re layering multiple gelatin colors, always chill the first until it’s jiggly but not firm. That way, the next layer bonds without slipping apart. It’s a small detail that makes your presentation look professional.
👉 Recipe Card: Glow in the Dark Jello Cups
Ingredients:
- 2 cups tonic water (regular, with quinine)
- 1 packet flavored gelatin (3 oz, any bright color)
- 1 tablespoon sugar (optional)
- Fruit or candy mix-ins (optional)
- Whipped cream or garnish (optional)
Instructions:
- Heat tonic water in a saucepan until just steaming.
- Pour over gelatin powder in a bowl and stir until dissolved.
- Add sugar if desired and mix well.
- Let cool 5 minutes, then pour into clear cups.
- Chill for 3–4 hours until firm.
- Shine a blacklight and watch them glow!
Prep time: 10 minutes
Chill time: 4 hours
Servings: 6 cups
Calories (per serving): ~80 kcal
Dietary notes: Gluten-free, customizable, easy vegan option with agar
Serving & Pairing Suggestions
Glow in the Dark Jello Cups deserve a proper spotlight—literally. They look best under blacklight, but even in regular light, they’re colorful and party-ready.
Serving ideas:
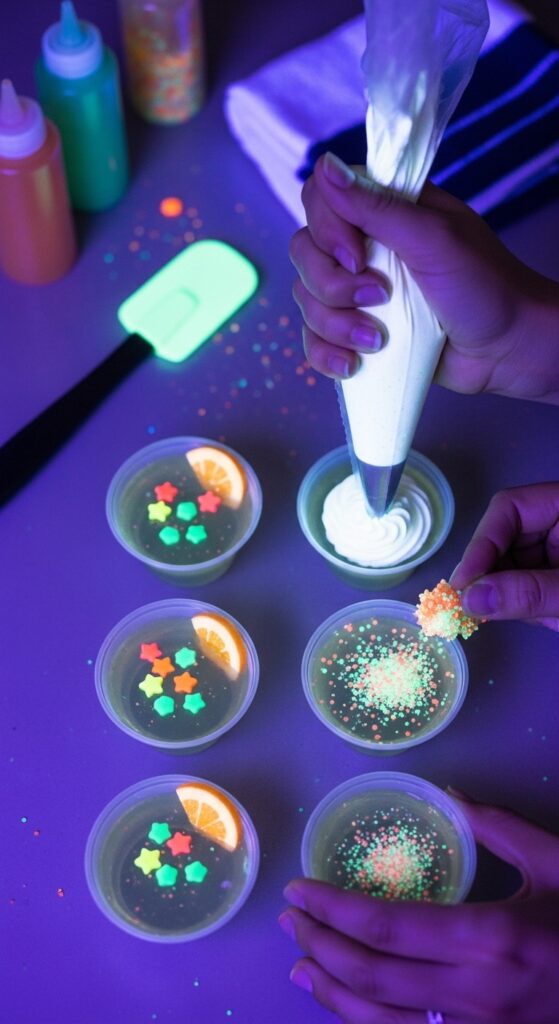
- Top with a swirl of whipped cream and neon sprinkles right before serving.
- Insert a glow stick straw (uncracked) for a fun visual twist.
- Serve in martini glasses for an upscale glow party feel.
- Arrange multiple colors together for a rainbow glow display.
Pairings:
These sweet, slightly tangy cups go great with light snacks—popcorn, fruit skewers, or salty pretzels. For drinks, pair with lemon-lime soda, mocktails, or glow cocktails using tonic water and fruit juices.
You can even create a full glow-themed dessert bar—think glowing drinks, fluorescent cupcakes, and neon-dipped marshmallows. Keep the lighting low and let your desserts steal the show.
Pro serving tip: If the glow starts to fade under the lights, just dim the room again. The fluorescence never goes away—it’s just shy in bright light.
Conclusion
Glow in the Dark Jello Cups aren’t just a recipe—they’re an experience. A little science, a little sugar, and a lot of fun packed into one cup. They remind us that cooking doesn’t always have to be serious. It can be playful, curious, even a little geeky.
Once you’ve made them, you’ll start imagining endless variations. Different colors. Different flavors. Layered effects. Edible glitter. These cups are your canvas, and the UV light is your spotlight.
So the next time you’re planning a celebration—kids’ party, Halloween, or just a random Friday night—make these glowing treats. Turn down the lights, switch on the blacklight, and watch your guests’ faces light up. It’s dessert and entertainment rolled into one.
FAQs
1. Why does my jello not glow enough?
You probably used too little tonic water or boiled it too long. Keep the tonic ratio high and only heat until hot, not boiling.
2. Can I make glow jello without tonic water?
Not really—the glow depends on quinine in tonic water. You can, however, use UV-reactive food-safe dyes, but tonic is the simplest natural way.
3. How long do Glow in the Dark Jello Cups last?
Stored in the fridge, they last 3–4 days. Just keep them covered to prevent drying.
4. Can I make them alcohol-based?
Absolutely. Replace ½ cup of tonic water with vodka or rum. Chill longer, as alcohol slows setting.
5. Are they safe for kids?
Yes! Quinine in tonic water is safe in small quantities, and the glow effect is purely visual. Use half tonic and half plain water if you want a milder taste.
Glow in the Dark Jello Cups prove that dessert can be more than flavor—it can be spectacle. And when your guests ask, “How on earth did you make it glow?”—you’ll just smile and say, “A little science, a lot of sweetness.”

Selena is an experienced lifestyle blogger and the voice behind many of Cozy Toned’s inspiring posts. With a passion for mindful living, home styling, and everyday wellness, she shares practical tips and fresh ideas to help readers live beautifully and intentionally.