So you wanna build a pallet accent wall? Good choice. It’s rustic, it’s cheap, and it makes your place look like you’ve got style without trying too hard. Plus, it’s way easier than you think—if you don’t overcomplicate it.
First, let’s talk pallets. Not all pallets are created equal. Some are filthy, some are splintery, and some are just plain ugly. You want the ones marked “HT” (heat-treated, not chemical-dunked). Skip the ones that look like they’ve been through a war—unless you’re into that distressed look, then go wild.
Step 1: Gather Your Stuff (Yes, That’s a Technical Term)
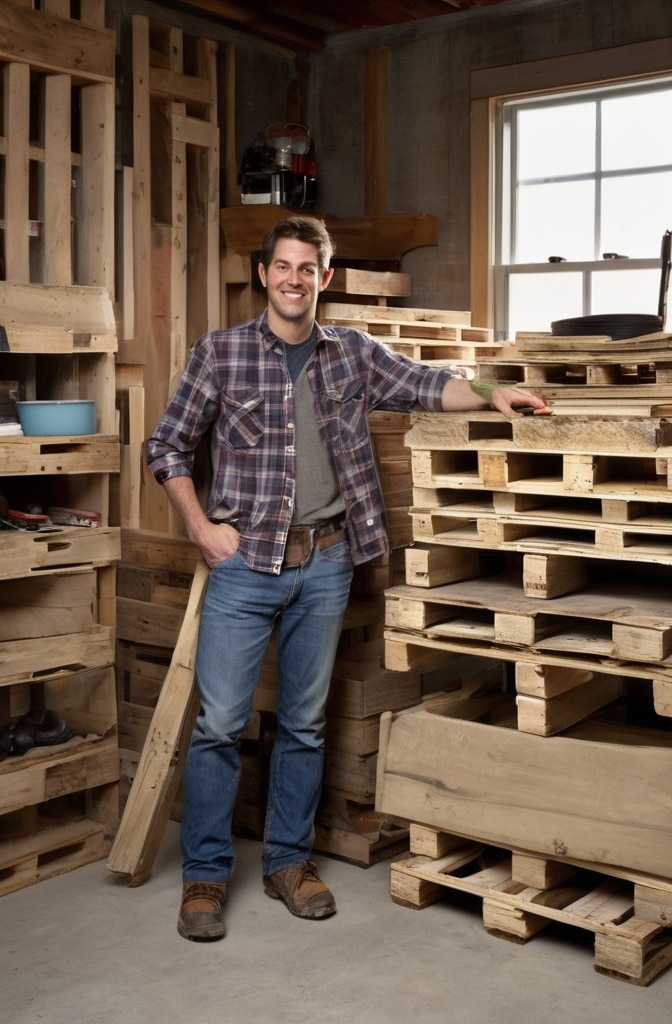
You’ll need pallets (duh), a pry bar, hammer, nails or screws, a saw, sandpaper, and maybe a level if you’re a perfectionist. Oh, and gloves—unless you enjoy splinters as much as I enjoy stepping on Legos.
Don’t forget a stud finder. Unless you wanna play “guess where the stud is” and end up with a wall that falls apart in a week. Trust me, it’s not a fun game.
Step 2: Break ‘Em Down (The Pallets, Not Your Spirit)
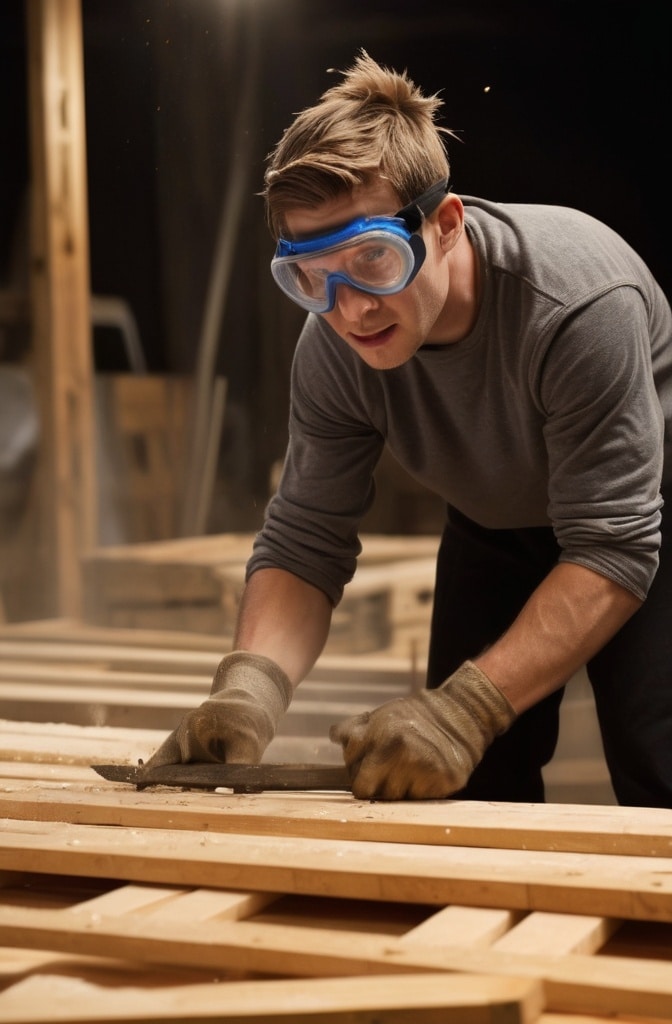
Pallets are stubborn. They don’t wanna come apart easy. Use the pry bar like you mean it, but don’t go Hulk-smash or you’ll split the wood. Some boards will break. That’s fine—gives it character.
Sand everything down unless you like the idea of getting a splinter every time you lean on your fancy new wall. A little 60-grit action, then maybe 120 for a smoother feel. Or don’t. Live dangerously.
Step 3: Plan Your Layout (Or Wing It, I’m Not Your Boss)
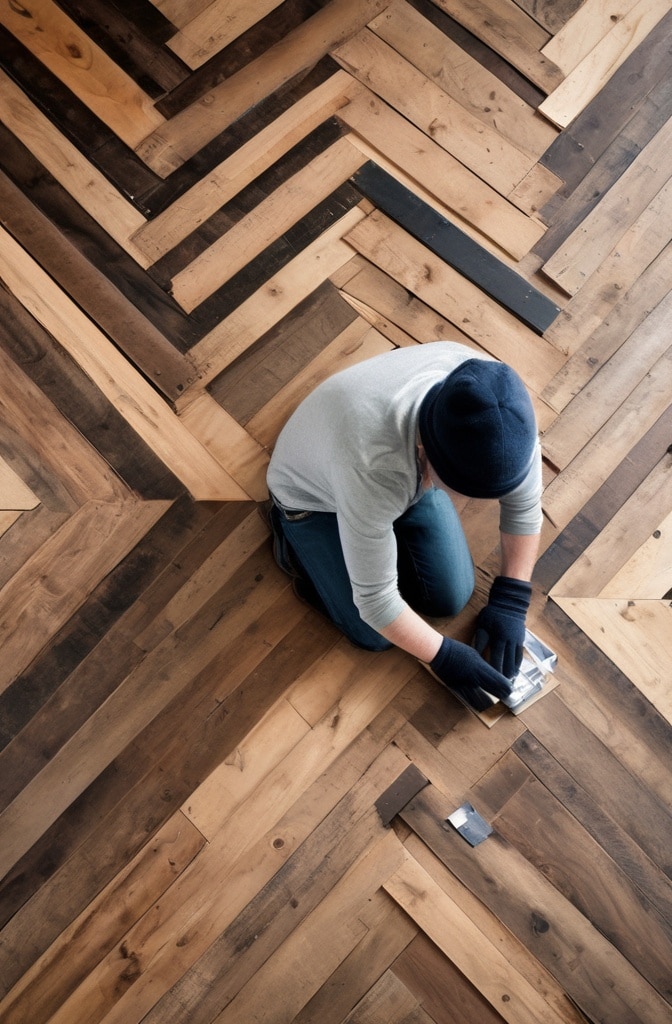
Lay the boards on the floor first. Mix ‘em up—different lengths, different shades. You want it to look collected, not like you bought a “rustic wood wall” kit from some overpriced store.
Some people measure. Some people eyeball. I’ve done both, and honestly? Eyeballing works fine as long as you’re not trying to impress a carpenter.
Step 4: Attach Those Bad Boys
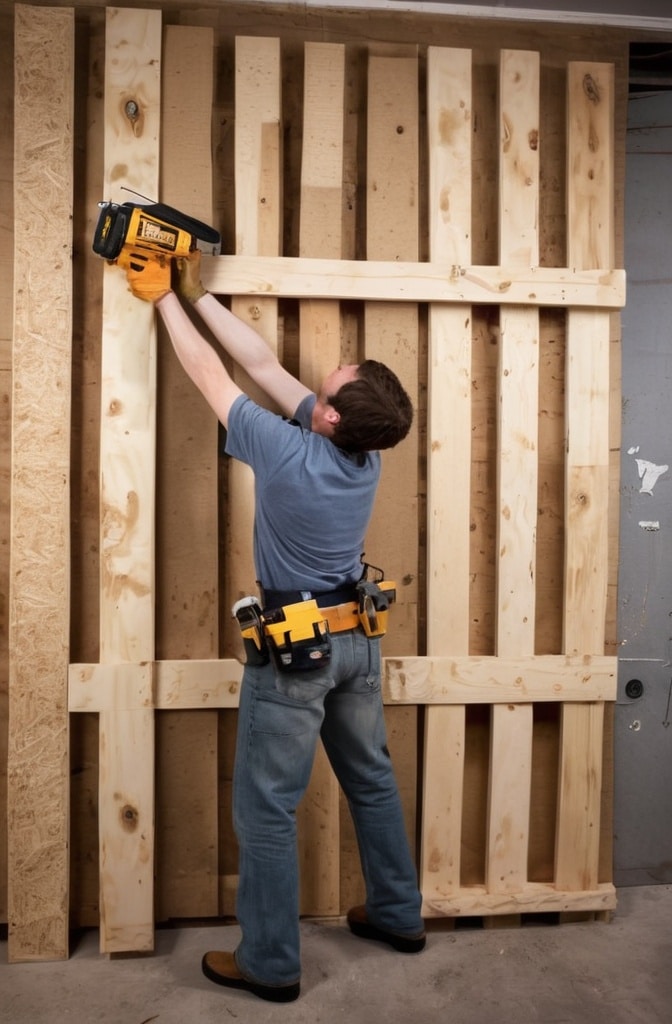
Start at the bottom. Work your way up. Use nails or screws—your call. Screws hold better, but nails look more rustic. If you’re hanging heavy stuff later, maybe go with screws. Or reinforce with both. Who’s stopping you?
Leave gaps if you want. No gaps if you don’t. This is your wall. Make it weird if you feel like it.
Step 5: Finishing Touches (Or Not)
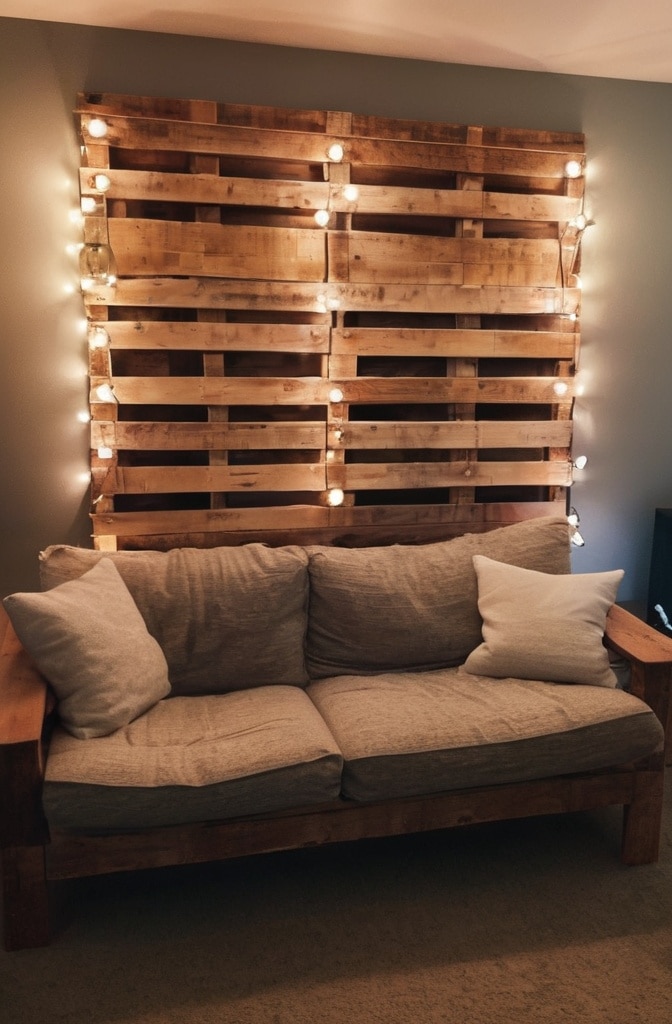
You can stain it, whitewash it, or leave it raw. Raw looks cool but might darken over time. Stain gives it depth. Whitewash makes it look like a Pinterest board threw up on your wall—in a good way.
Add some shelves? Hang some plants? Go nuts. It’s not just a wall now—it’s a statement.
Final Thoughts: Don’t Overthink It
The best pallet walls aren’t perfect. They’ve got gaps, uneven edges, and maybe a nail or two sticking out. That’s the charm. If you wanted something flawless, you’d buy wallpaper.
So grab some pallets, get messy, and build something that looks like it’s got a story. Because it does—yours.

Selena is an experienced lifestyle blogger and the voice behind many of Cozy Toned’s inspiring posts. With a passion for mindful living, home styling, and everyday wellness, she shares practical tips and fresh ideas to help readers live beautifully and intentionally.